
- Intro — Small Medals Are a Trap, Now and Forever
- The Big Picture — How Hard Is the Platinum?
- Wall #1: 110 Small Medals — That “Last One” Hurts the Most
- Wall #2: 121 Stray Monsters — Better Than Medals, but Long
- Easy to Miss: Monster Hunter (163 Defeated Species)
- Spell & Skill Master — Plan Class Changes Early, but Honestly Just Have Fun
- Post-Game Peak: The Superbosses Have Turn Limits
- Don’t Forget: “Ripped Off”
- Closing Thoughts
Intro — Small Medals Are a Trap, Now and Forever
The HD-2D remake of Dragon Quest 3 is gorgeous, right? Are you playing it? And how are the trophies coming along… smoothly?
Me? I messed up. Big time.
My single biggest mistake this playthrough: I forgot to log one Small Medal location. Hunting down that one missing medal turned into a hellish re-tour of the entire world map.
There is no in-game way to tell which spots you have checked and which you have not. None.
I do not want you to suffer the same fate, so I am turning my failure straight into a strategy for you. Bottom line: there are only three things you really need to do — manage your checklist properly, plan your class changes, and know the superbosses’ turn limits. Lock those in from the start and you can cruise to the platinum stress-free.
The Big Picture — How Hard Is the Platinum?
Straight to the point: the platinum for DQ3 HD-2D is not that hard. But there is a fair amount of grind. That is the vibe.
For my own run: about 28 hours to clear the story, and 47 hours at the point I completed the platinum.
- Difficulty: ★★☆☆☆ (2/10)
- Missable/time-limited content: None (basically nothing is permanently lost — with one difficulty-trophy caveat below)
- Online: None
If you pick the “Comfy Play” (楽ちんプレイ) mode, your whole party becomes invincible (HP never drops below 1), so you will basically never get stuck in a fight. Leveling and healing stay minimal and breezy. If you do not care about the challenge, this mode is totally fine.
But here is one important caveat that a lot of roundup articles miss.
⚠️ If you stay on “Comfy Play,” you cannot earn the trophy “Down but Not Out” (しんでしまうとはなさけない!).
That trophy requires your party to be wiped out, and since Comfy Play prevents a wipe, it will never unlock. You can change difficulty anytime (Camp → System Settings → Game Mode), so bump the difficulty up just for this trophy and intentionally let yourself get wiped. In other words, mind this one thing and you can grab every trophy on Comfy Play.
Zero time-limited trophies means there is no rush — that is the saving grace. The real bosses here are the collectibles.
Wall #1: 110 Small Medals — That “Last One” Hurts the Most
The first wall of the platinum is, without a doubt, right here.
Map density in the HD-2D version is way higher than the SFC original, so “sweep every town with a guide open at the very end” is something I genuinely recommend against. Few people can pull this off purely solo, so if you have a day job, the most reliable route is to use a guide and check off each spot as you grab it. Just watch out — there are over 100 locations, so it is easy to miss a check.
Even if you end up “3 medals short,” the game gives you no way to know where you missed them. That is what leads straight to a late-game dead end.
So “check it off on the spot” is the only correct answer.
It is simple. Open a medal checklist from a major guide site, and check off each medal the instant you pick it up. That is it. It costs you a few seconds, but doing it (or not) decides hours of your late game.
Good news, though: since update Ver 1.2.0.0, the Gringham Whip — once the 105-medal reward — can also be found in a treasure chest, so medal collecting is no longer required to progress the post-game dungeon. That said, the trophy still needs you to complete all medal-reward items, so you are collecting them either way.
Golden Rules of Exploration
The moment you enter a town, no exceptions: cast Magic Key Sense (Remiramah / レミラーマ) and use the Thief ability Thief’s Nose (とうぞくのはな). Medals hidden in secret spots especially tend to sit on unmarked patches of ground, and finding them without Remiramah is brutal. Pots, barrels, back gardens of houses — finish a town in a single visit. “I’ll come back later” is the most dangerous thought. The HD-2D world is so pretty it is genuinely distracting, lol.
Wall #2: 121 Stray Monsters — Better Than Medals, but Long
The other big collection wall, right up there with medals.

The good news: unlike medals, Stray Monsters (はぐれモンスター) come with a safety net.
You can check your captured list in the War Record (せんれき). It even shows which species you still have unsecured, so you can see at a glance how many — and which types — are left.
Way friendlier than the medals. Still, 121 species is a lot, and many are locked to a time of day (morning / evening / night) or require the Mirror of Ra, so I’d hold off on serious collecting until you learn Ranarûta (toggle time of day) — it is your insurance against missing any.
The single biggest efficiency tip: keep a Monster Wrangler (まもの使い) in your party. With one along, you skip the special capture conditions (like specific finishing blows), and collecting gets much smoother. You still have to match the time-of-day conditions, though.
Easy to Miss: Monster Hunter (163 Defeated Species)
This one creeps up on you.
[Monster Hunter] Fill out all 163 species on the War Record’s “Defeated Monster List” (superbosses included — you need to defeat them, not just encounter them).
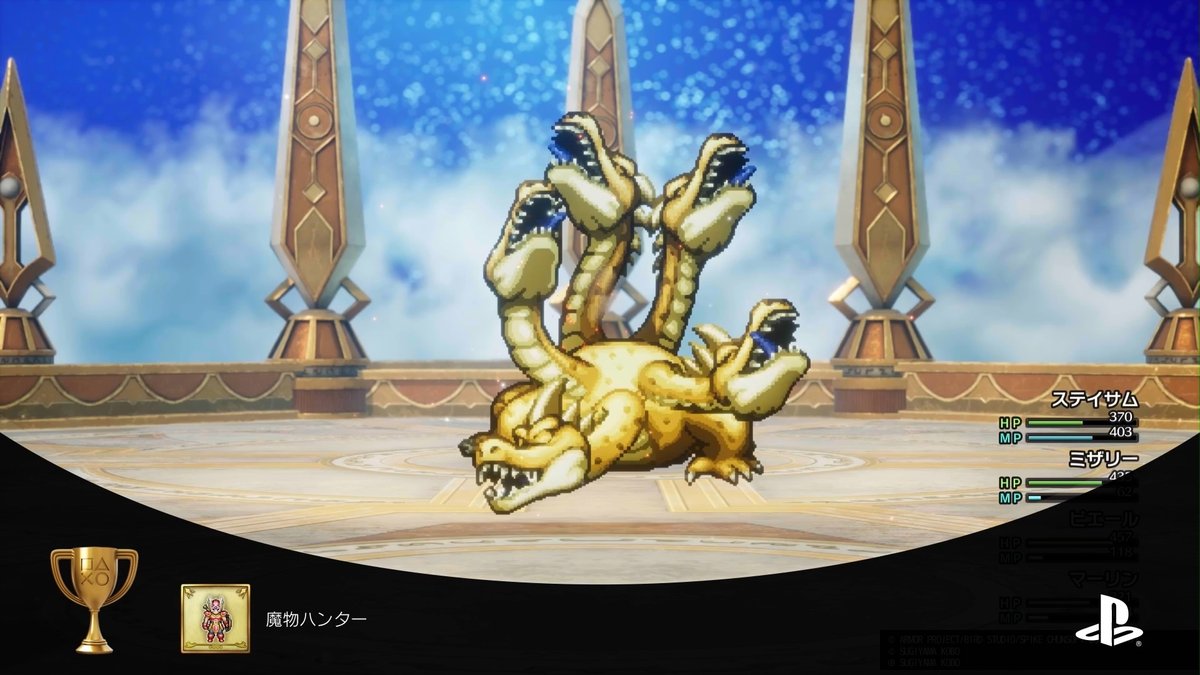
Heads up: leaning on Sneaky Steps (しのびあし) or fleeing a lot will leave gaps in your defeated list. You have to kill them for the list to fill, so go easy on running away while you are collecting. You can track progress in the War Record.
Spell & Skill Master — Plan Class Changes Early, but Honestly Just Have Fun
You will save yourself double the time later if you plan from early on. But honestly? Just play whatever classes you enjoy during the main game. I swapped classes however I felt like it and never really ran into trouble.
Unlocks when you learn all 66 spells and all 69 skills.
Anyone in your party — or even reserve members waiting at Luida’s Bar — counts toward the dex as long as at least one person knows that spell/skill.
Here are rough target levels per class:
| Class | Target Lv | Notes |
|---|---|---|
| Warrior | Lv48 | |
| Martial Artist | Lv47 | |
| Gadabout | Lv45 | |
| Monster Wrangler | Lv44 | + requires securing 100 Stray Monsters |
| Sage | Lv40 | Covers every Mage & Priest spell |
| Merchant | Lv36 | |
| Thief | Lv33 |
A Class-Change Route for Your Explorer
For the efficiency-minded, here is something that pays off big for the platinum: raise one character along a “Thief → Mage → Merchant → Monster Wrangler” route. Having a single character who can use both the Thief’s Nose (a godlike skill that tells you how many uncollected items remain in an area) and Remiramah from early on makes medal and stray-monster collection dramatically more efficient. Pick one exploration buddy and commit.
Post-Game Peak: The Superbosses Have Turn Limits
Walking in without knowing this just costs you, so let me lay it out first.
Shinryu — Grant Multiple Wishes
Beat it within 15 turns and it grants you a wish. Grant every required wish (7 total, including a secret one) and you unlock the trophy “Well… Farewell!! (では…さらばじゃ!!).”
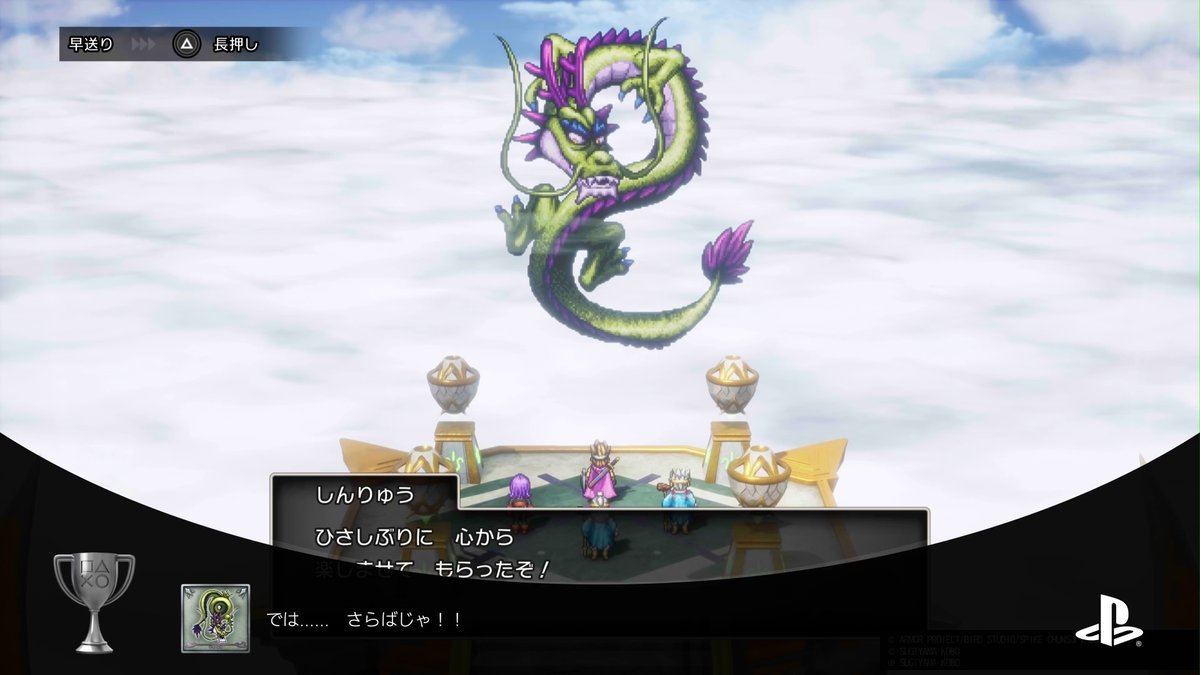
In other words, you have to beat Shinryu multiple times — it is not a one-and-done. The wishes include unlocking the Shrine of Trials (a further bonus dungeon) and Monster Arena ranks SS and SSS.
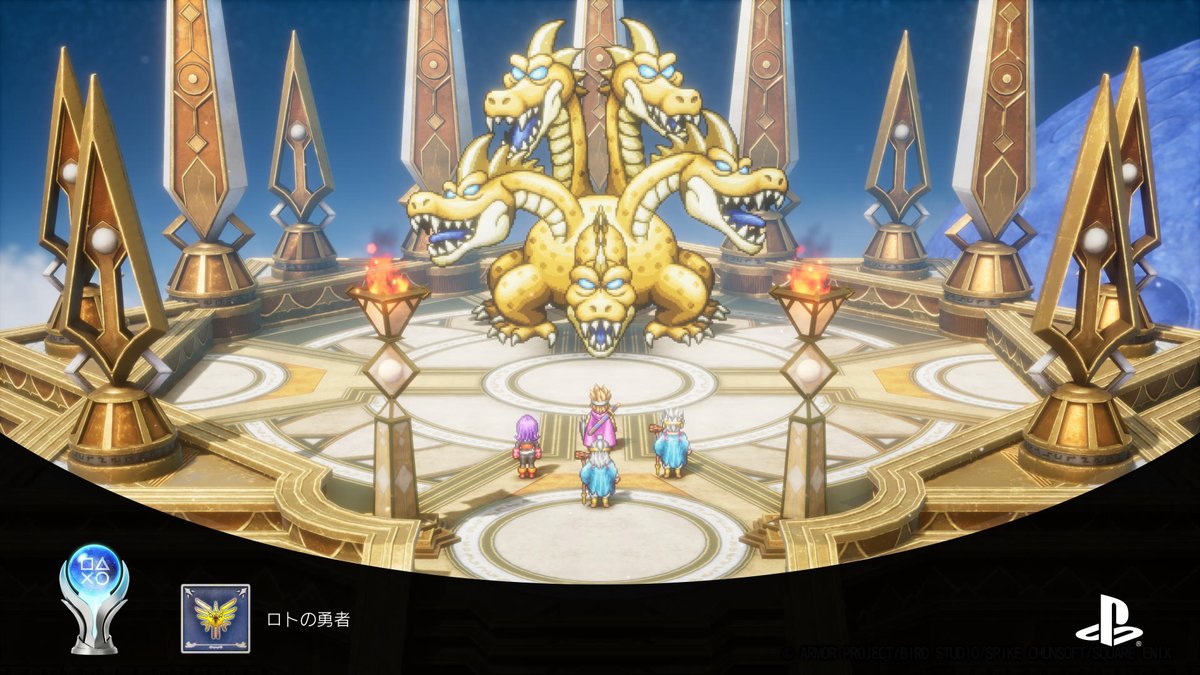
Grandragon — There’s a “No Rematch” Condition
Beat it within 20 turns → trophy “Take This! (さあ受け取るがよい).” ⚠️ But if you beat it within 10 turns, it falls asleep and you can never rematch it.
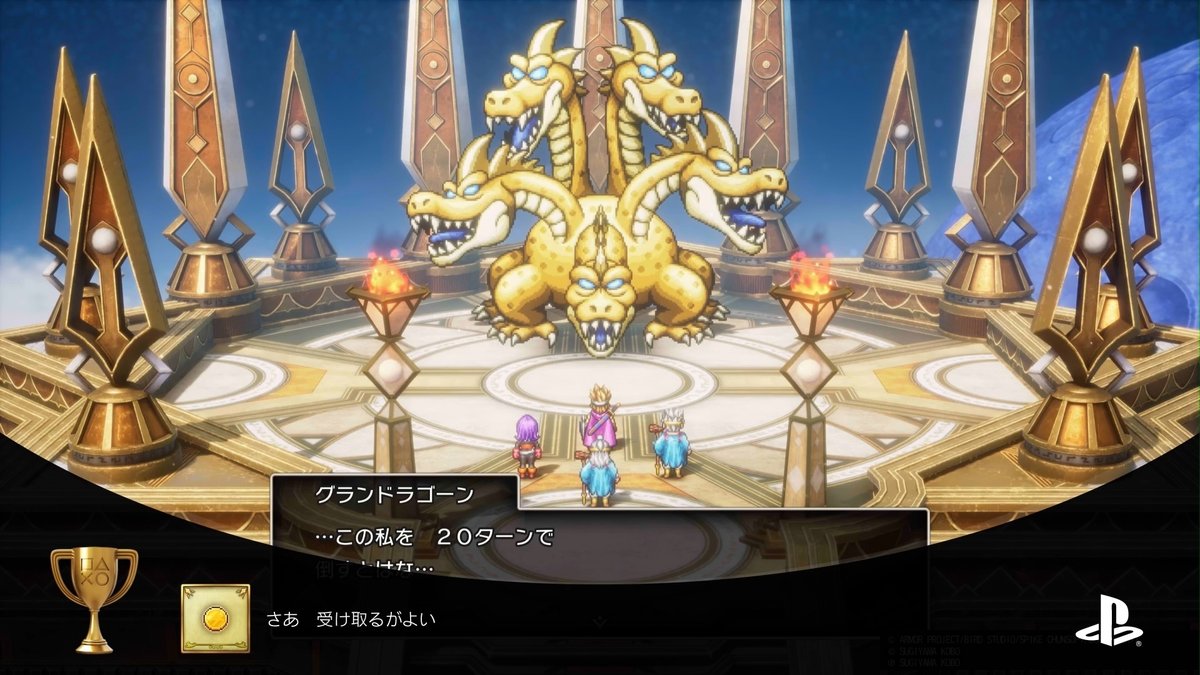
Going “just nuke it ASAP!” has a trap: you can lock yourself out of ever fighting it again. Aim for “within 20 turns, but on turn 11 or later.” If you want to fight it repeatedly, save before you challenge it.
Honest confession: I fought tooth and nail and cleared it on exactly turn 20. Cut it close. My hero was level 93. My flow was Beast Mode to boost attack count, Oomph (Bikill) + Falcon Slash and Multithrust, then sneak in Snooze (Rariho) and hammer with Hypnos Hunt while it sleeps. Even that just barely made the 20-turn trophy window.
That said, if you want the sub-10-turn fastest kill, my approach had two pieces of waste:
First, spamming Hypnos Hunt from a Thief equipped with the Falcon Blade puts out more burst. Falcon Blade + Beast Mode makes Hypnos Hunt a 4-hit attack, and against a sleeping target a single Thief lands 10,000+ damage.
Second was casting Oomph on myself. Grandragon buffs itself with Acceleratle and Oomph, so instead of spending turns on my own buffs, it is more stable to use the Martial Artist’s Frizzle-style “Frozen Ripple (いてつく波紋)” or the Staff of Aurora to strip the enemy’s buffs.
To sum up: for the trophy (within 20 turns) beat it however you like; for the fastest kill (within 10 turns) lean into “Falcon Blade Hypnos Hunt + stripping the enemy’s buffs.”
Don’t Forget: “Ripped Off”
Quietly easy to overlook.
[Ripped Off (ぼったくられた)] At the equipment shop in the upper-left of Assaram, haggle the price down to the minimum before buying.
Haggle three times, and when the text “But you — friend! (でも あなた ともだち!)” appears, that is the sign you have hit the floor. The cheapest item, the Special Medicinal Herb, drops to 270 gold, so push it that low and buy (bonus: you save money). Assaram is an area you only pass through once mid-game, so it is easy to skip.
Closing Thoughts
The HD-2D version of Dragon Quest 3 is a genuinely well-made game. That is exactly why I did not want anyone’s exploration to collapse into a soul-crushing loop just because they got cocky and skipped the notes — that is the spirit this guide was written in.
What you have to do is simple: check off medals and stray monsters on the spot. Do just that, and you can cruise to the platinum stress-free. Let’s get it done together.

Leave a Comment