

Intro — Honestly, How Good Is This Game?
If I had to sum up Pragmata in one sentence: it’s a game that can’t be replicated.
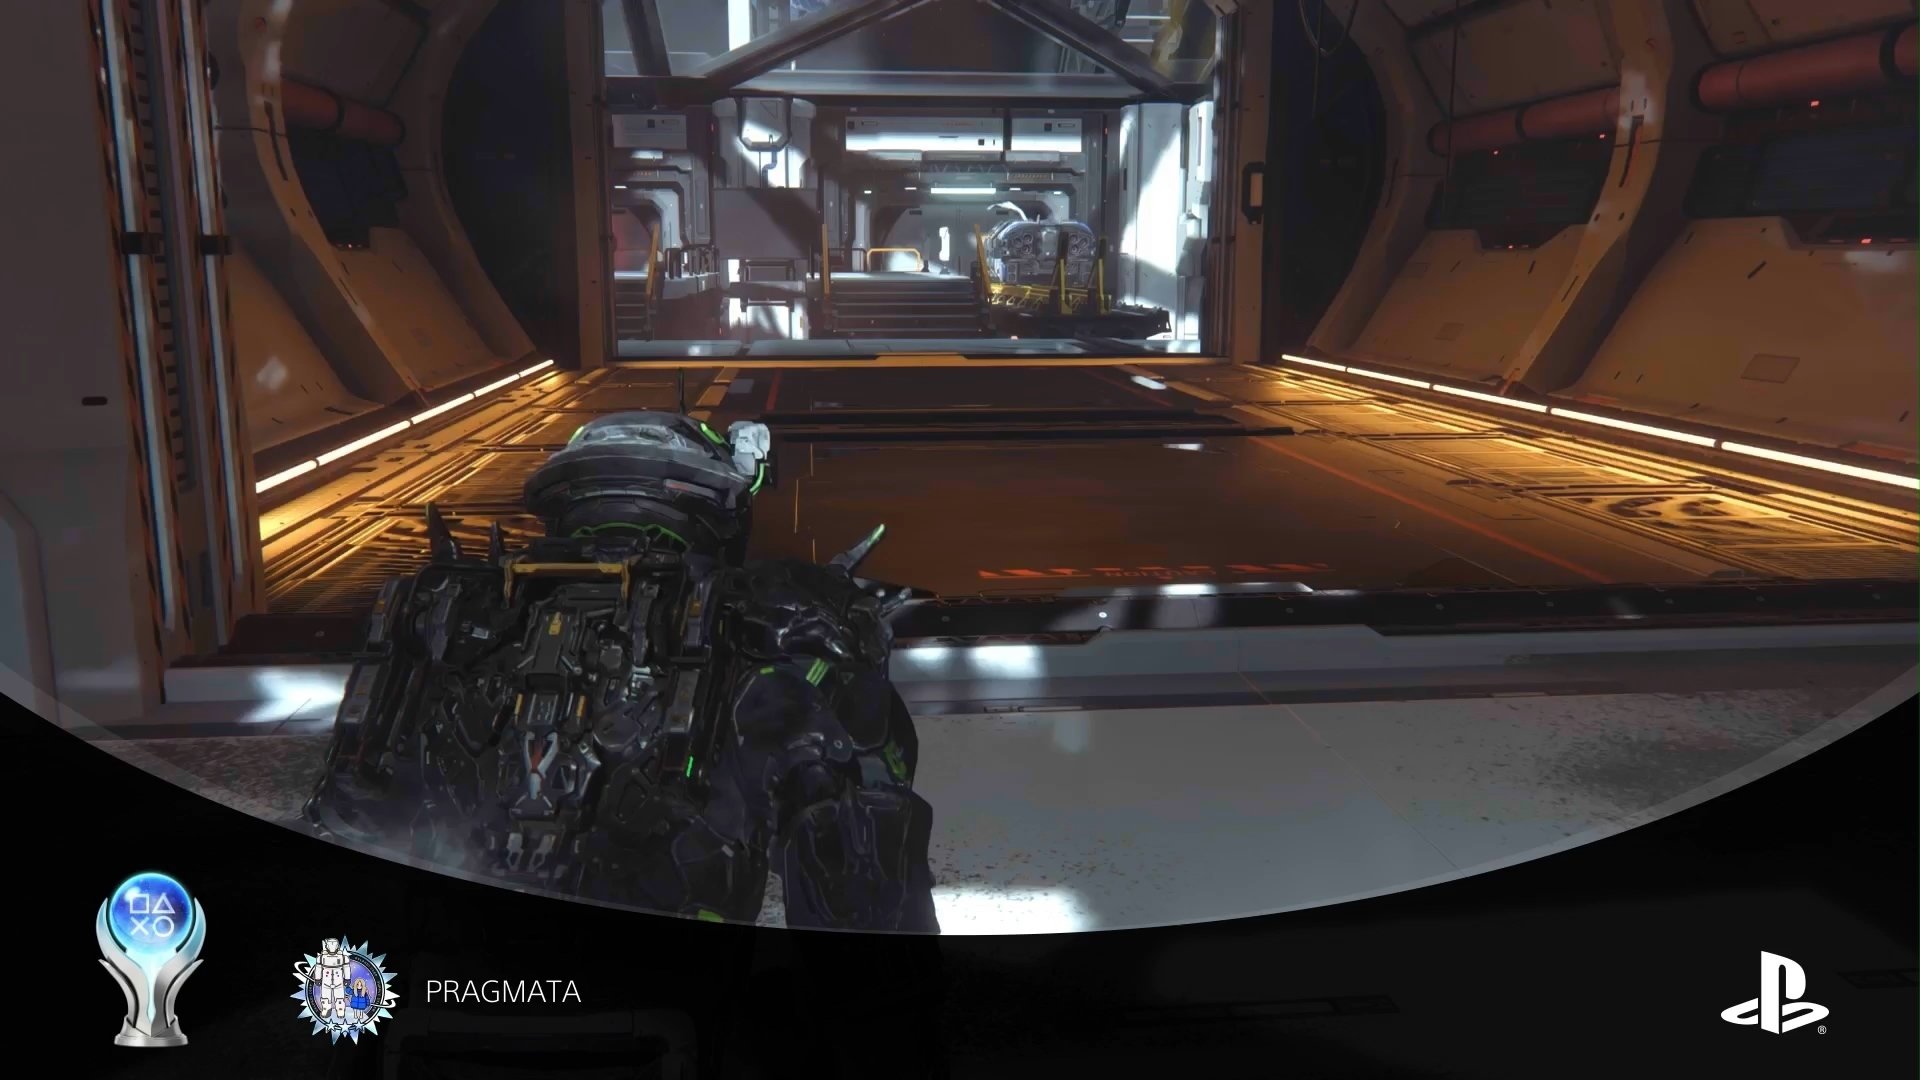
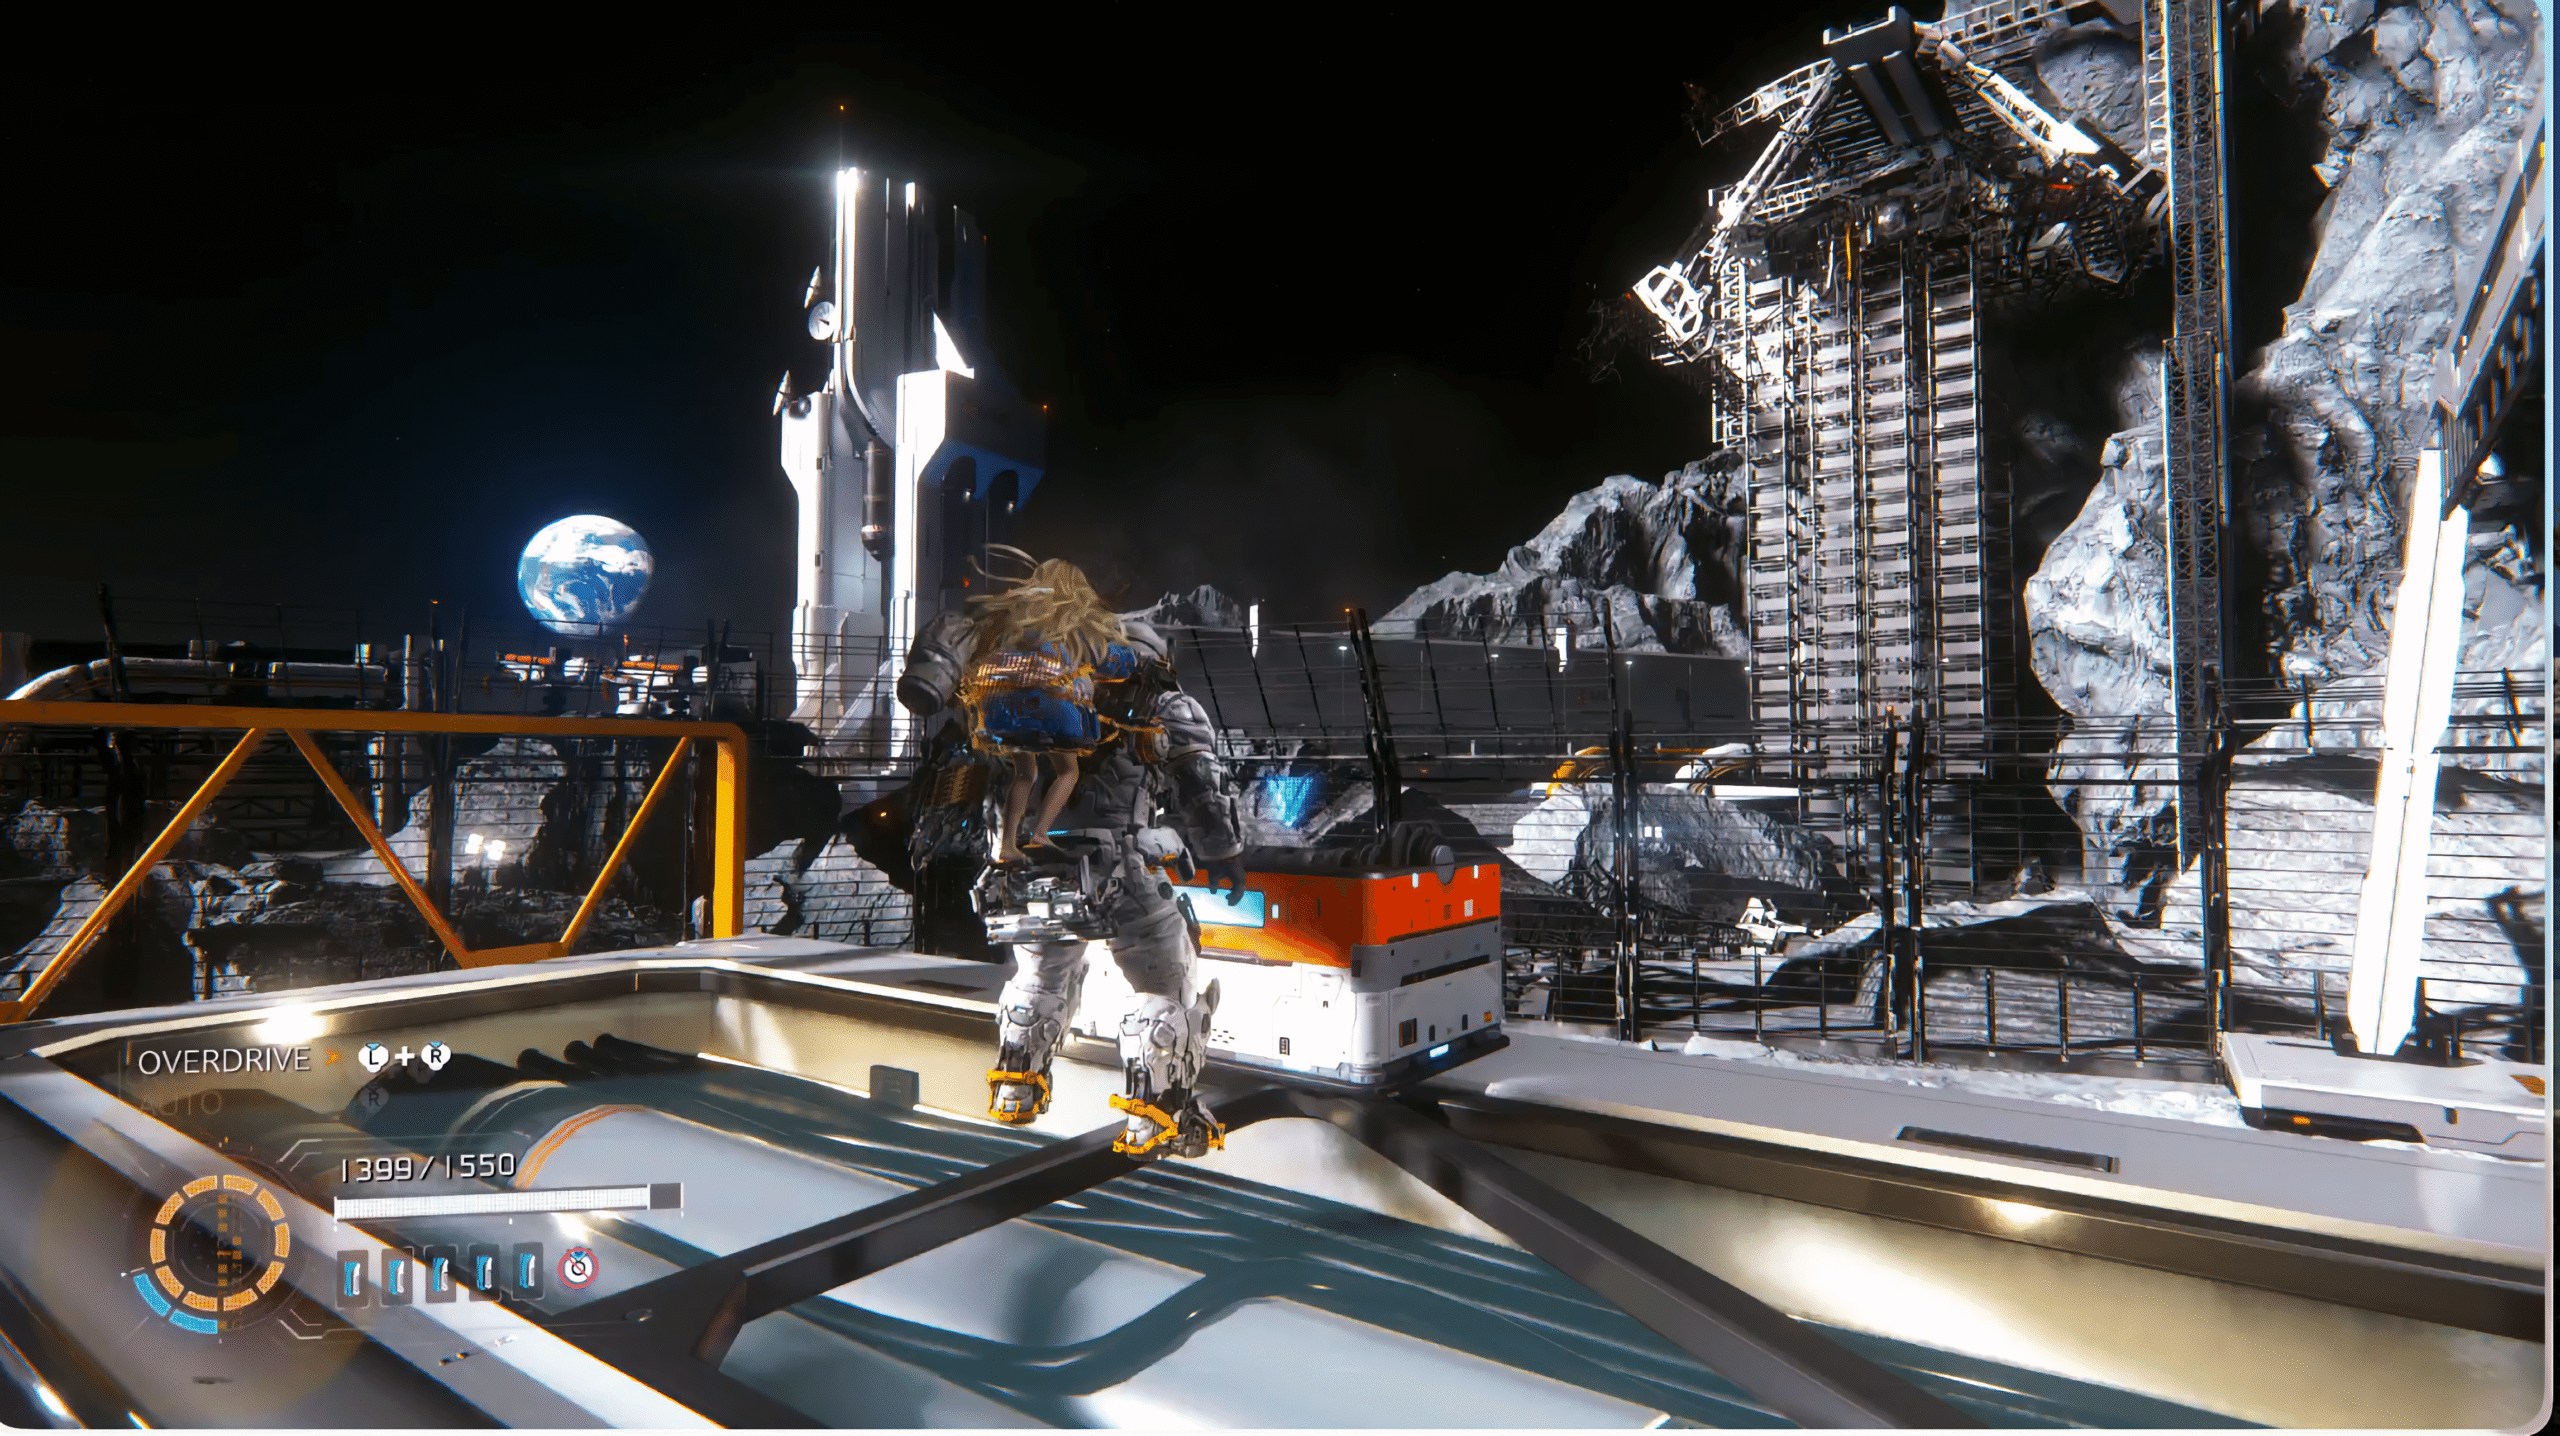
If recent Resident Evil games are like a “killer shark movie” — thrilling and high-octane — Pragmata operates on a completely different level in terms of systems, world-building, and sheer density of craft. The setup alone — astronaut Hugh and android girl Diana teaming up to explore the abandoned lunar facility “Cradle” — already screams “there’s nothing else like this.” You can feel the RE Engine DNA throughout (ex-Capcom devs from RE and DMC were involved), and the visuals are genuinely breathtaking.
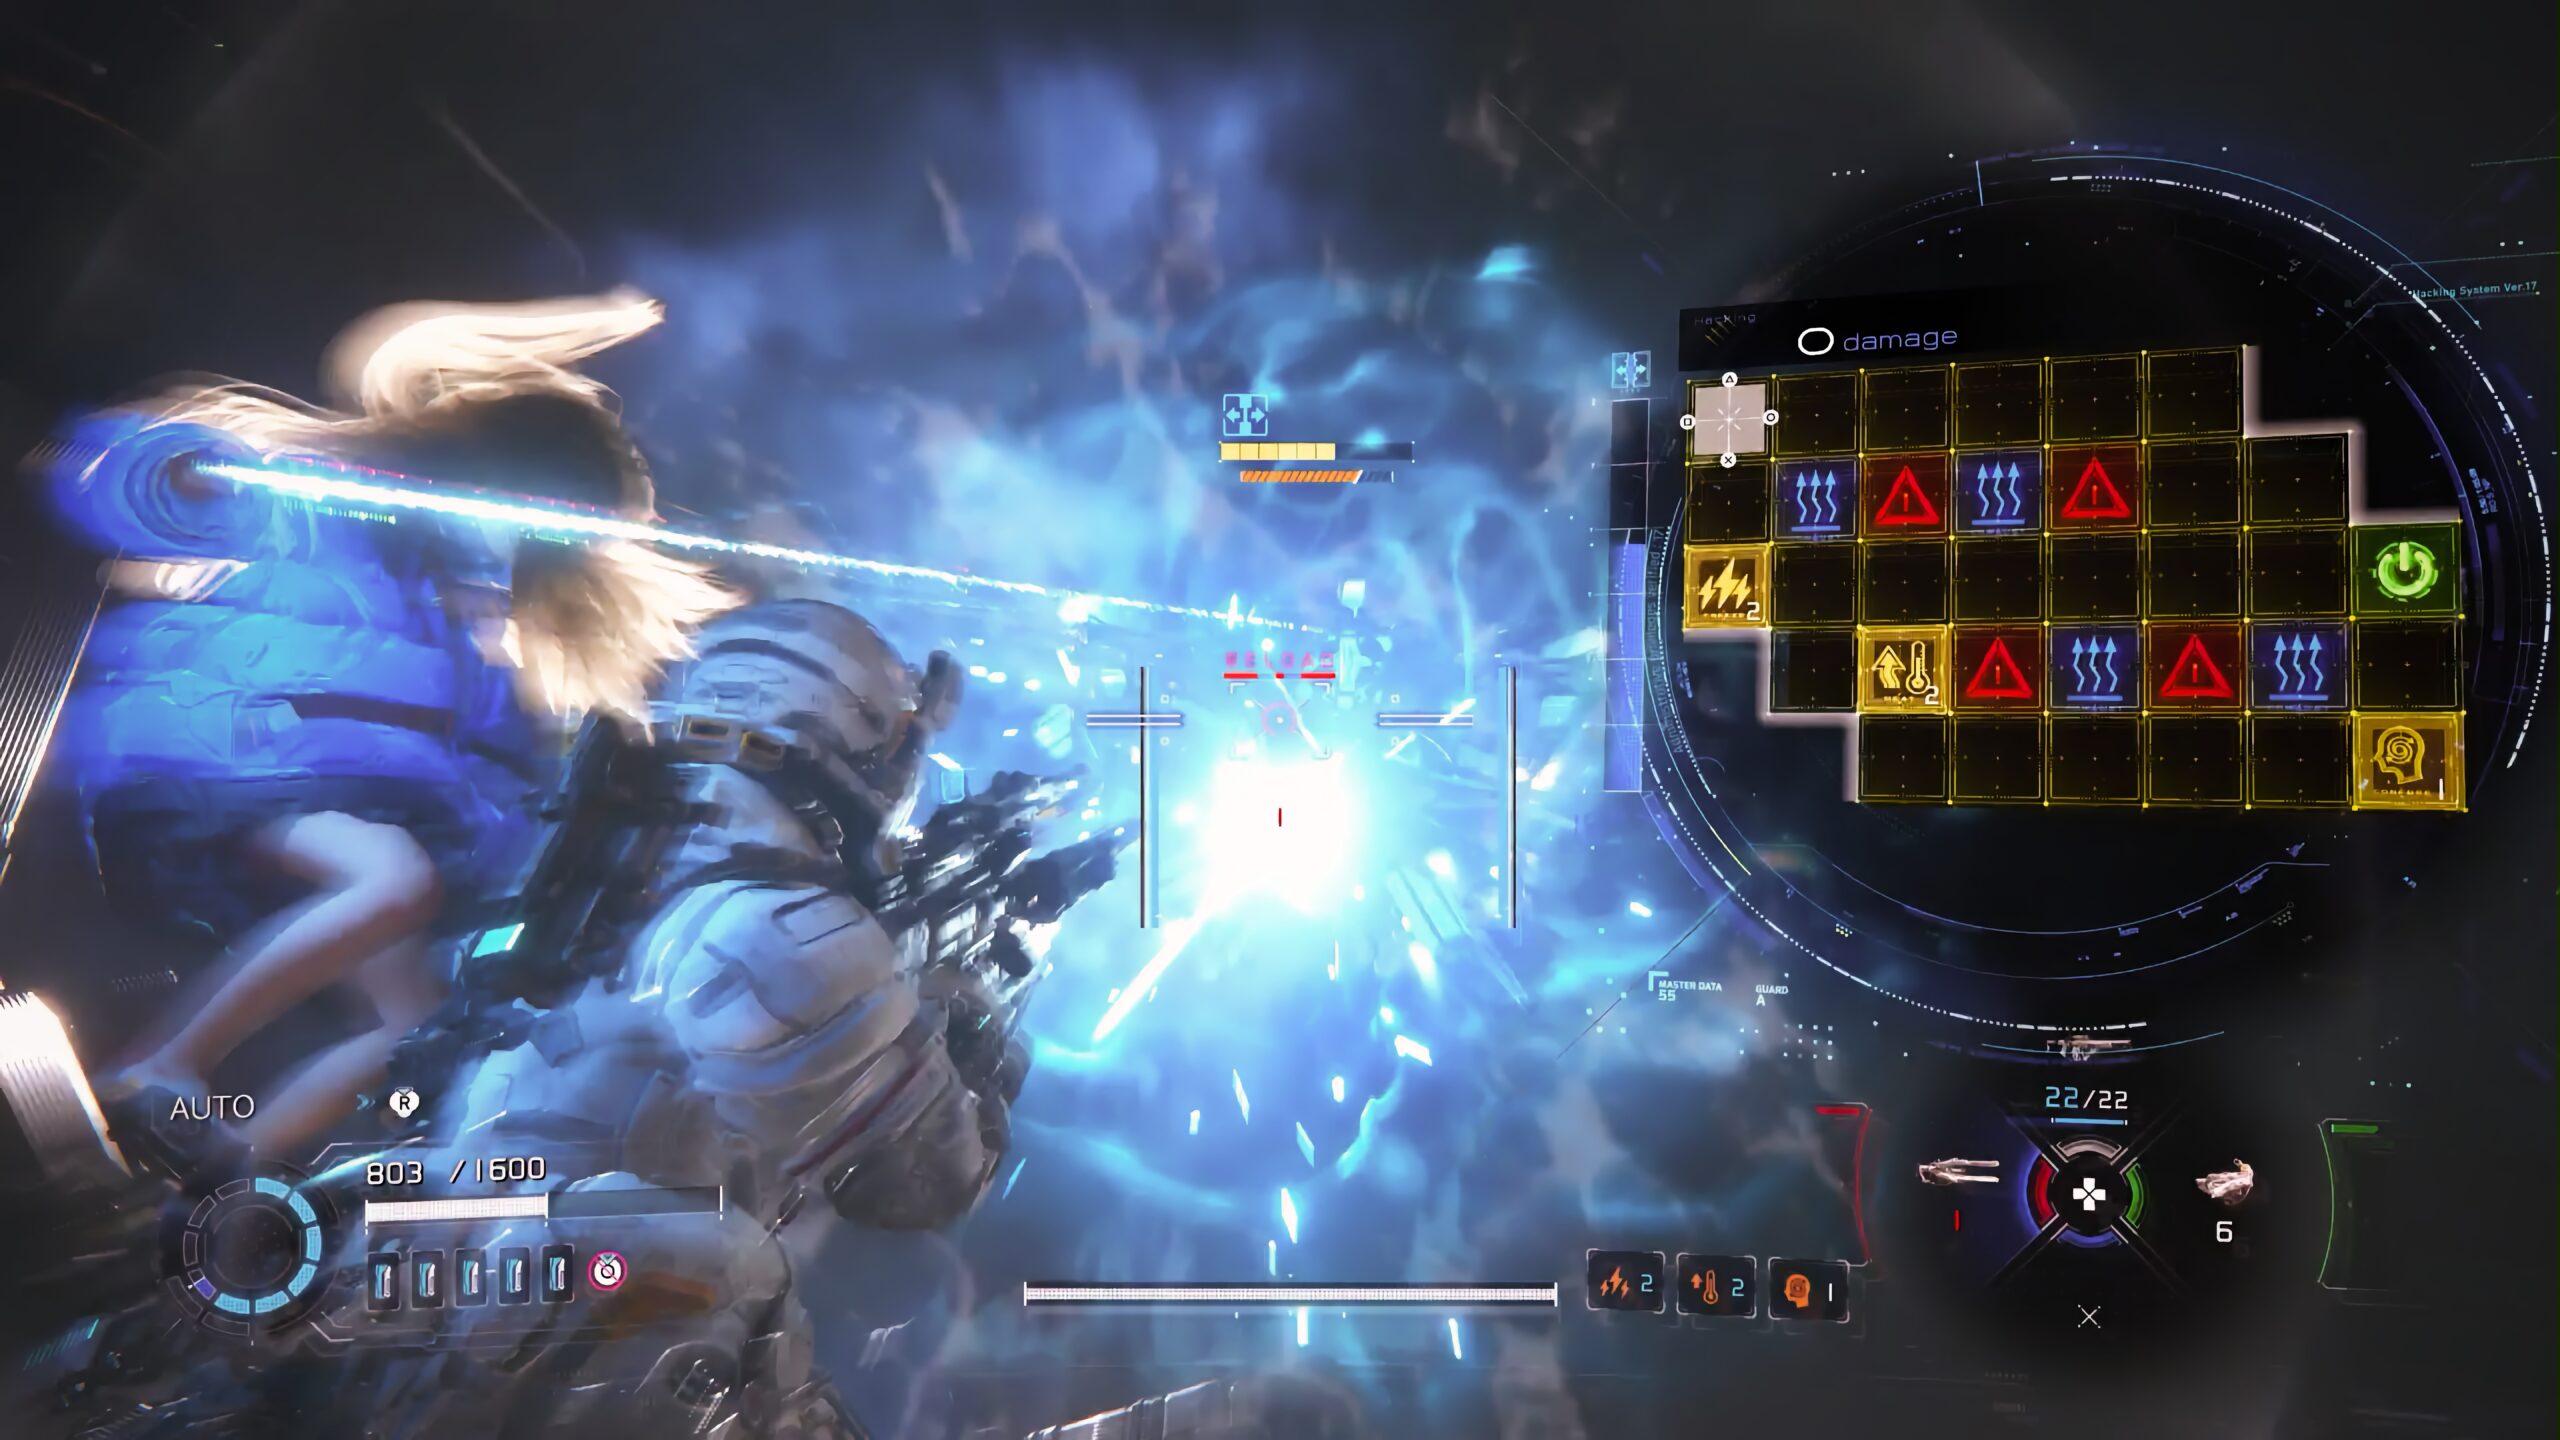
That said, the early-to-mid game is honestly rough. I had no idea what to do during reload cycles at first — I’d just stand there exposed and die over and over. But once I actually started using Hacking properly, that frustration disappeared almost entirely. The moment you realize you can expose enemy weak points and deal damage simultaneously during reloads via Hacking, combat completely clicks — and you get this rush that’s totally unique to this game.
On the flip side, there’s definitely a “classic game” feel in some spots. Weapon switching doesn’t always register on the first press when you’re panicked — you have to press twice for it to apply, which is clumsier than expected. And the “respawn from base on every death” design has that old-school Capcom hardcore-inconvenience energy to it.
Trophy Difficulty & Time Estimate
- Total Playtime: ~25 hours (Run 1 full explore: 14h + True Ending: 2h + LUNATIC: 9h)
- Difficulty: ★★☆☆☆ (2/10)
- Playthroughs Required: 2 (LUNATIC is mandatory)
- Missable Trophies: None
- Online Trophies: None
There are zero missable trophies. The only thing that sometimes gets flagged as a potential issue is the fleeing enemy “Sweeper” — but since you can re-enter sectors and try again as many times as you want, it’s not actually missable (details later).
Trophy List
Total: 36 trophies / No online trophies / No missable elements
Full Trophy List (36 trophies) — click to expand
- 🏆 Platinum — PRAGMATA: Unlock all trophies
- 🥇 Gold — A Promise Between Two: Clear on any difficulty
- 🥇 Gold — A Worthy Man: Clear Unknown Signal (True Ending)
- 🥇 Gold — Lunar Conquest: Clear on LUNATIC difficulty
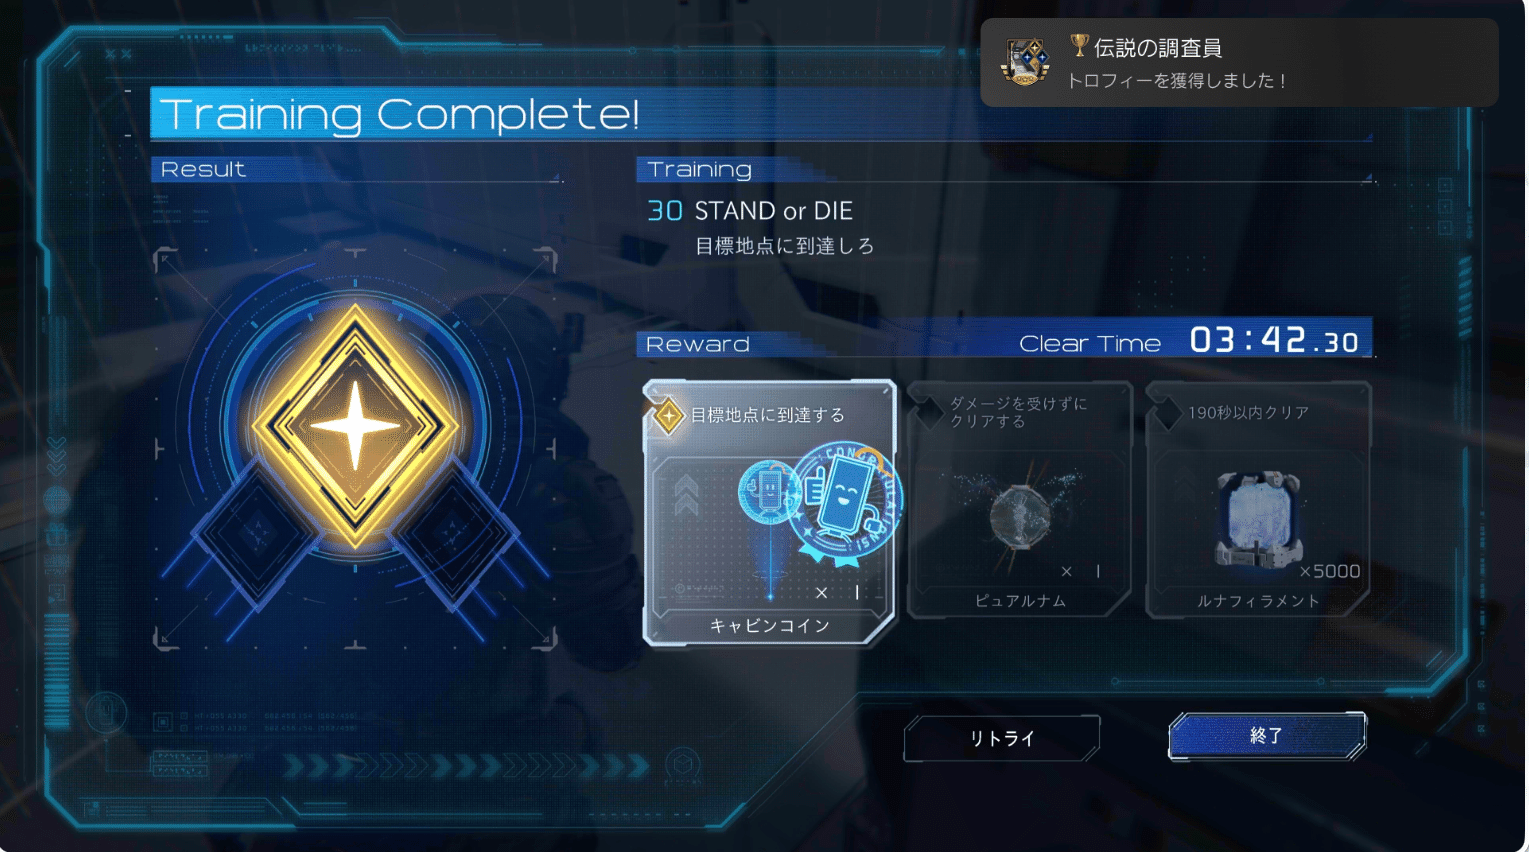
- 🥇 Gold — Legendary Investigator: Complete the main objective of all Training missions
- 🥇 Gold — Master of Finding Things: Collect all Mini Cabins (15 total)
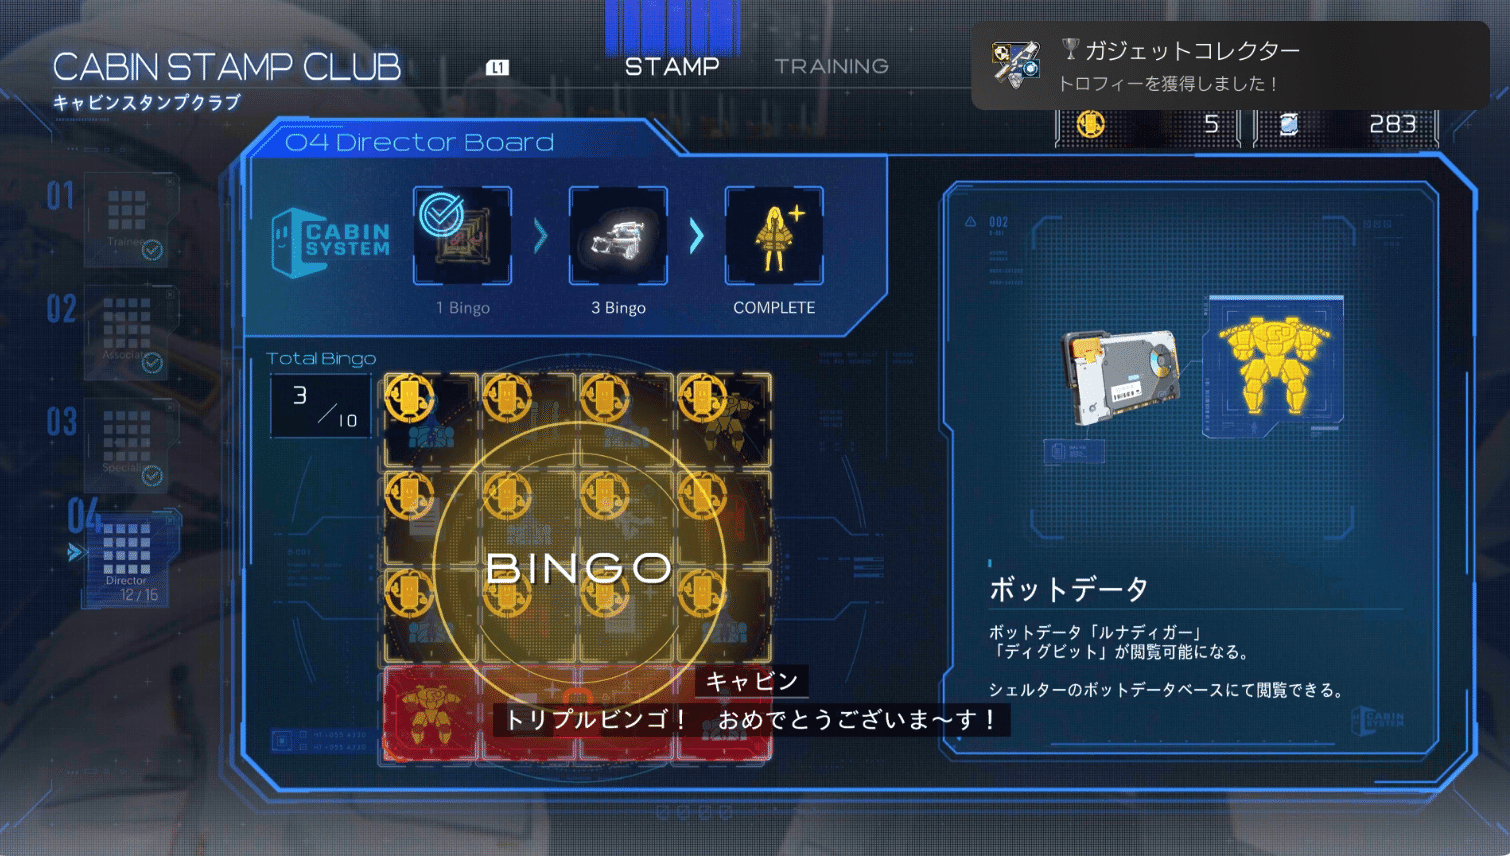
- 🥈 Silver — ALL BINGO!: Complete any Cabin Stamp Board
- 🥈 Silver — Armed and Confident: Suppress the Red Zone
- 🥈 Silver — Gadget Collector: Craft every obtainable weapon, node, and ability
- 🥈 Silver — Mass Takedown Filament: Defeat 3 or more enemies simultaneously with the Recycler
- 🥈 Silver — Cornered Rat: Temporarily repel the large excavation bot along the way
- 🥈 Silver — Borrowed Power: Use Confuse on a specific enemy to steal their shield
- 🥈 Silver — Clean Sweep: Purify 3 or more enemies simultaneously
- 🥈 Silver — POWER! POWER!! POWER!!!: Deal 6000+ damage with gunfire in 1 second
- 🥈 Silver — Who Needs Guns: Deal 3000+ damage with a single Hack
- 🥉 Bronze — Story trophies (9): Auto-unlock through story progression
- 🥉 Bronze — Casual Talk: Talk to Diana at the Shelter
- 🥉 Bronze — Thanks for Everything!: Receive a drawing from Diana
- 🥉 Bronze — Found You!: Win hide-and-seek with Diana
- 🥉 Bronze — Mine: Hand over an Earth Memory
- 🥉 Bronze — Complete Reproduction: Complete any Earth Memory series
- 🥉 Bronze — Investigator Trainee: Complete 1 Training main objective
- 🥉 Bronze — You Can’t Run: Defeat the Sweeper
- 🥉 Bronze — Hidden Space: Touch a hologram decoy wall
- 🥉 Bronze — Great Find!: Collect 1 Mini Cabin
- 🥉 Bronze — My Favorite: Upgrade a weapon at the Pure Luna
- 🥉 Bronze — Thorough Investigation: Reach 100% exploration in any sector
- 🥉 Bronze — Cradle Network: Open all Escape Hatches
- 🥉 Bronze — Challenge from the Moon: Clear the trial in a special sector
Key Trophy Walkthrough Notes
Trophies that unlock naturally through story progression are skipped here. I’m focusing on the missable or location-tricky ones. Check YouTube Shorts for video guides on individual trophies.
🎯 Gadget Collector
“Crafted all obtainable weapons, hacking nodes, and abilities in the story.”
The key catch: 7 items are only obtainable as Bingo rewards from the Cabin Stamp Boards. You can’t get them through exploration alone — they simply won’t appear. Line up 3 rows of Bingos and you’ll cover all the target items. Note: the Jackhammer and Filament Cannon are unlocked post-Unknown Signal and are NOT counted for this trophy.
🎯 Mass Takedown Filament
“Defeated 3 or more enemies simultaneously with the Filament Recycler.”
Best spot: Sector 2 “Large Output Test Site,” Escape Hatch “Recycling Control Room,” the room just before the final beacon. Six Walkers spawn here along with a Recycler — lure as many enemies as possible into the Recycler’s range and activate it. You’ll pass through this room naturally during the story, so don’t miss it. Also unlockable through Training.
🎯 Clean Sweep
“Purified 3 or more enemies simultaneously.”
The Purification Protocol is auto-obtained during story progression in Sector 5 “Pragmata Engineering Lab,” so you can’t miss it. The tricky part is that only enemies infected by Dead Filament can be purified. The most reliable spot: Sector “Central Port,” Escape Hatch “Cargo Terminal” — head toward the Security Room Zone where 3 infected Walkers spawn together. Target that group.
🎯 Borrowed Power
“Used Confuse on a specific enemy and borrowed their shield.”
Uses the Hacking Node “Confuse.” Easiest spot: Sector “Mining Site,” Escape Hatch “Warehouse Entrance” — a shield-carrying bot spawns past that point. Just hit it with Confuse and the trophy pops instantly. Confuse is obtainable during the story. I personally got this during Training No.30 “STAND or DIE.”
🎯 POWER! POWER!! POWER!!!
“Dealt 6000+ damage with gunfire in 1 second.”
Most reliable: Training No.07 “Penetration.” Charge the Charge Piercer to max (2 stages) and shoot through a line of 3 enemies — this hits around 6300 damage. Also pops naturally through story progression during Training.
🎯 Who Needs Guns
“Dealt 3000+ damage with a single Hack.”
Most consistent: Training No.16 “Hack & Crash.” The starting loadout is already hacking-focused, so just hit an enemy with a Sticky Bomb then chain all nodes including Expose for a guaranteed 3000+ hit.
🎯 Hidden Space
“Touched a hologram decoy wall.”
Hologram walls exist throughout each sector (fake walls you can walk through). Use Object Scan — it shows collectibles through walls, so if you see something behind a “wall,” just walk toward it and you’ll trigger the trophy naturally. If you haven’t noticed one by the time you reach Sector 2+, just walk into walls in those areas.
🎯 Cradle Network
“Opened all Escape Hatches.”
Most unlock naturally through story progression. The one that trips people up: the Escape Hatch in the boss area of Sector 1 “Solar Power Station.” After beating the boss during Unknown Signal, the camera will pan to the hatch — collect it there.
Efficient Platinum Chart
Full Route Overview
Run 1 (Explore thoroughly + collect)
↓
Unknown Signal → 100% exploration + enhanced boss kills
↓
Secret Chamber: all 10 Sim Pods cleared → Black Box obtained → True Ending
↓
LUNATIC (new save data, max difficulty clear)
▶ Run 1 (Target: 14 hours)
Core strategy: push the story first, then explore once Object Scan is available.
This is the single most important tip. Early on you’ll notice items scattered everywhere, but backtracking randomly is not recommended. There are two types of crystal objects that block exploration — and they’re annoying:
- Blue crystals “Luna Filament Clusters”: Can’t be cleared until you finish Sector 2 “Large Output Test Site”
- Red crystals “Dead Filament Clusters”: Can’t be cleared until you finish Sector 5 “Pragmata Engineering Lab”
If you backtrack at the wrong time, you’ll find even less than if you’d just waited. The optimal window:
- Push story to around Sector 2, then craft and unlock the Object Scan ability at the Unit Printer
- Object Scan shows nearby collectibles on radar
- Once you’ve unlocked both filament-clearing abilities, sweep each area in one pass
Also: Mini Cabins are extremely well-hidden. The only hint is a sound cue when you’re nearby — but in practice, almost no one notices. I found zero on my first run. Definitely use a location guide.
【Note】 Sweeper: Just Know the Location
In Sector 2 “Large Output Test Site,” Escape Hatch “Connecting Passage” — through to the next beacon area — a UFO-type mini flying enemy called the “Sweeper” spawns. Defeating it unlocks “You Can’t Run.”
On Normal difficulty the spawn is random, and if you get close it flees along a fixed route before disappearing. But re-entering the sector resets it, so it’s not missable. Just know the location. To catch it: chase it with Hacking. Note: on LUNATIC difficulty it spawns 100% of the time, so if you miss it in Run 1 you can grab it during LUNATIC.
▶ Unknown Signal → True Ending (Target: +2 hours)
Unlocks after clearing Run 1. Here’s the flow:
- Bring each sector to 100% exploration and defeat all enhanced bosses
- This sequentially unlocks Secret Chamber Sim Pods (10 total)
- Clear all 10 Sim Pods to obtain the Custom Module “Black Box” and the ultimate weapon “Filament Cannon”
- Equip the Black Box and fight the final boss again → True Ending
If you have any collection gaps at this stage, clean them up here. Nothing is missable, so no rush.
▶ LUNATIC (New Save, Max Difficulty) (Target: 9 hours)
LUNATIC must be started on a fresh save file — it cannot be selected in New Game+.
After Run 1 you have all the enemy layouts and mechanics memorized. Additionally, the Jackhammer and Filament Cannon unlocked through story clear are available from the very start of LUNATIC.
Honest note though: the Filament Cannon barely sees use in LUNATIC. It consumes Luna Filament to fire, so while it’s powerful, you’re constantly in “too valuable to shoot” mode. Since LUNATIC starts from scratch, you need all your Luna Filament for upgrades from the beginning — and by the time you actually want to use the cannon, ammo availability can’t keep up. It’s one of the game’s genuine frustrations. On Run 1 too, you don’t even get it until the very end after clearing all the Secret Chambers, so “got it but never really used it” is the honest verdict.
That said, the Jackhammer (close-range weapon that ignores armor for massive damage) unlocked post-story clear feels great — you can deal high damage up close without Hacking, and the rush is real.

LUNATIC Boss Strategy — How to Recover When Stuck
First: head back to Shelter and upgrade. If you’re dying to a boss repeatedly, either your damage or your defense is lacking. Upgrade components drop from Training rewards and sector exploration — return to Shelter regularly and reinvest. Prioritizing Hacking-related upgrades makes every fight more efficient.
Second: reassess your Custom Modules. Not enough damage? Swap toward Offense. Getting shredded too fast? Rebuild toward Defense. Even changing a single module can shift the feel of a fight significantly.
Still can’t break through? Save right before the boss fight with Overdrive fully charged. If you fail, load instead of Continue — your Overdrive comes back. This is the go-to reset method.
For LUNATIC boss fights, the stable closer is: when the boss hits ~30% HP, trigger Diana’s “Delete Protocol” and finish them with the Photon Laser. The three abilities below were also major helpers:
The 3 Core Abilities
- Just Dodge: Triggers a brief slow-motion window if you dodge just before an attack connects — gives you time to set up a counter. Unlockable and upgradeable at the Unit Printer. On LUNATIC, playing “dodge-centric with Just Dodge as the anchor” was by far the most stable approach.
- Auto Hacking: Consumes Hacking Gauge to auto-complete a Hack. Triggering it during the Just Dodge slow window lets you expose weak points and deal damage in one fluid motion. On the LUNATIC final boss especially, the Just Dodge → Auto Hacking chain became the reliable attack loop.
- Emergency Control: Press R1 to recover instantly after being launched. Dramatically cuts recovery time after knock-backs, and massively improves survival rate when things go sideways.
One more near-mandatory item: the Custom Module “Faster Move.” It extends Just Dodge’s timing window by 20% — the faster the boss’s attacks, the more valuable this becomes. The catch: it’s only obtainable from the 4th Cabin Stamp Board.
Cabin Stamps work like a bingo card — spend 1 coin to fill 1 square. Complete a row (horizontal, vertical, or diagonal) for a bingo bonus. The problem is that the game doesn’t tell you which squares to prioritize for efficient bingos. Spending coins randomly means you might fill useless squares first. On a 2nd run, collecting coins itself is a grind, and doing all the Training is a lot of work.
“Faster Move” is the 5th highest priority square on Board 4, adjacent to “Weak Sniper.” Aim to bingo the row that includes both of these together for maximum efficiency.
LUNATIC boss fights require serious preparation — HP and attack power are both heavily buffed, so commit to a long battle. The core loop: don’t overcommit, Just Dodge reliably, chip away steadily. Save with full Overdrive before each boss, and load (not Continue) if you die.
Training Simulations
Training unlocks when Shelter Level reaches 2 (after clearing Sector 2 “Large Output Test Site”). There are 30 missions total, each with 1 Main Objective and 2 Sub Objectives.
⚠️ Critical Note First
The trophy “Legendary Investigator” only requires completing the Main Objective of each mission.
The Crown mark you get for completing all sub-objectives too is purely cosmetic self-satisfaction (sub-objectives do give rewards like Luna Filament and upgrade components, so they’re not useless). But for platinum purposes, Main Objective only is enough. For a Capcom game, that’s surprisingly reasonable of them. Personally I didn’t know this, spent hours rage-clearing every sub-objective thinking it was required for platinum… and got absolutely nothing for it. That one stung.
Also important: Training Data collection. Some Training missions auto-unlock through story progression, but most are unlocked by finding hidden Training Data scattered across sectors. Key locations include Terradome, Mining Site, and Central Port — mostly mid-to-late game areas, so they’ll accumulate naturally through exploration.
Stage Difficulty Overview
Most stages are at the “once you know the mechanic, just execute” level. The frustration usually isn’t difficulty — it’s not knowing what you’re supposed to do. A guide makes most of these non-issues.
Two exceptions stand out:
- No.06 “Medic”: Unless you figure out to Hack enemies during their healing animation to trigger chain explosions, the time limit gets brutal. This stage requires a mental shift toward “use the enemy against itself.”
- No.30 “STAND or DIE”: The final mission, widely considered the hardest in the whole Training set. 5 waves within a time limit. Key strat: save your Decoys for the later waves. Use them up early and you’ll hit a wall in Wave 4-5. There’s also a shortcut route that skips 2 waves — which apparently makes the time limit comfortable. I had no idea this shortcut existed, so I retried dozens of times and barely cleared it with seconds to spare on a legitimate run.
▶ My actual No.30 clear video (dozens of retries, barely made it):
Mini Cabins — I Found Absolutely Zero
Mini Cabins are a collection element — 3 per sector across all 5 sectors, 15 total. Collect all of them for the trophy “Master of Finding Things.”
Their defining trait: a distinctive “ta-daah!” sound cue plays when you get close. Or so I’ve been told — I personally never heard it once. Some people on guides swear it exists…
The hiding spots are genuinely devious: high ledges, on top of pipes, behind fake walls. You will not find them just by walking around. If you hear something, look up, down, and all around carefully.
Important: Mini Cabins are separate from sector exploration percentage. Even at 100% sector completion the cabin count is tracked independently, so don’t rely on the exploration rate as a guide. Use a dedicated location list.
Once you spot one: shoot it to collect it. Finding it isn’t enough — you have to actually hit it.
▶ Full Mini Cabin collection video (all 15 locations):
Summary — How to Aim for Platinum in 25 Hours
Looking back at the platinum run, the real challenge isn’t skill — it’s how much wasted time you can avoid.
- Not knowing the blue and red crystal system and losing time on bad-timing backtracking
- Spending hours hunting Mini Cabins solo instead of using a guide
- Burning out trying to perfect every Training sub-objective when only Main Objectives count
Dodge those three traps and platinum in 25 hours is very much achievable — probably faster, honestly.
It also helps that the game itself is genuinely good, so LUNATIC Run 2 doesn’t feel like a chore. Going into it with full knowledge of the layout plus the Jackhammer in hand, the second run is honestly more satisfying than the first. The Filament Cannon being basically unusable is a small genuine complaint, but it doesn’t take away much.
As a post-platinum bonus, Infinite Ammo Mode unlocks after getting the trophy — which is a pretty solid send-off for the game.


Leave a Comment